Displaying Data with Table (Part I)
Flexing a SwiftUI Table when List is just too basic
One of the most traditional ways of displaying data is through a table. Think about having to create one in a document, working with a spreadsheet, or (for the experienced dev) a database. That’s why the Table component is a powerful tool in the SwiftUI framework. It doesn’t take much code to get data beautifully laid out in our app.
A little more here and there and we can quickly add on features and styles to enhance the UX. We’ll explore that in Part II
Table does have one major drawback: full-functionality is available on macOS and iPadOS, only. When using Table on iOS, it only shows the first column, nothing else. We’love discuss this more in Part II along with alternatives to consider.
But for now, let’s jump into building a Table!
Setup
Project
Because Table works best in macOS and iPadOS, start by opening Xcode, then selecting New Project -> macOS App -> UI set to SwiftUI. You can name the project anything you’d prefer. But since I’ll be pulling a list of Spells from an open Wizard World API, I’ll name mine “TableOfSpells”.
Data Source
As mentioned, we’ll be hitting a free and open Wizard World API (Swagger). Since we want to jump into using a Table, here is the Model and APICaller we can use to retrieve our data:
struct Spell: Codable, Identifiable, Hashable {
    let id, name, effect, type, light: String
    let canBeVerbal: Bool?
    let incantation, creator: String?
}

typealias Spells = [Spell]

class WizardWorldAPICaller {
    static func fetchSpells() async throws  -> Spells {
        var fetchedData: Spells = []

        let url = URL(string: "https://wizard-world-api.herokuapp.com/Spells")
        let request = URLRequest(url: url!)
        let (data, response) = try await URLSession.shared.data(for: request)

        if let httpResponse = response.http, httpResponse.isSuccessful {
            fetchedData = try JSONDecoder().decode(Spells.self, from: data)
        }

        return fetchedData
    }
}

extension URLResponse {
    var http: HTTPURLResponse? {
        return self as? HTTPURLResponse
    }
}

extension HTTPURLResponse {
    var isSuccessful: Bool {
        return 200 ... 299 ~= statusCode
    }
}
Quick breakdown of the above. WizardWorldAPICaller is a simple class with a single static function fetchSpells. This async function take the Spells API call, makes the request, and, if successful, returns the decoded data as an array of Spell.
Spell is our Model and maps to what the API provides us. We ensure we conform to a) Codable for JSON decoding, b) Identifiable for Table to tell different spells apart from each other, and c) Hashable for sorting comparisons.
Lastly, I created a typealias called Spells that gives us an alternative way of representing [Spell].
Creating a Table of Spells
In ContentView, we’ll first add @State var spells: Spells?. We’ll then modify body, place a Group, and create a conditional based on whether we have any spells loaded:
Group {
    if let spells {
        ...
    } else {
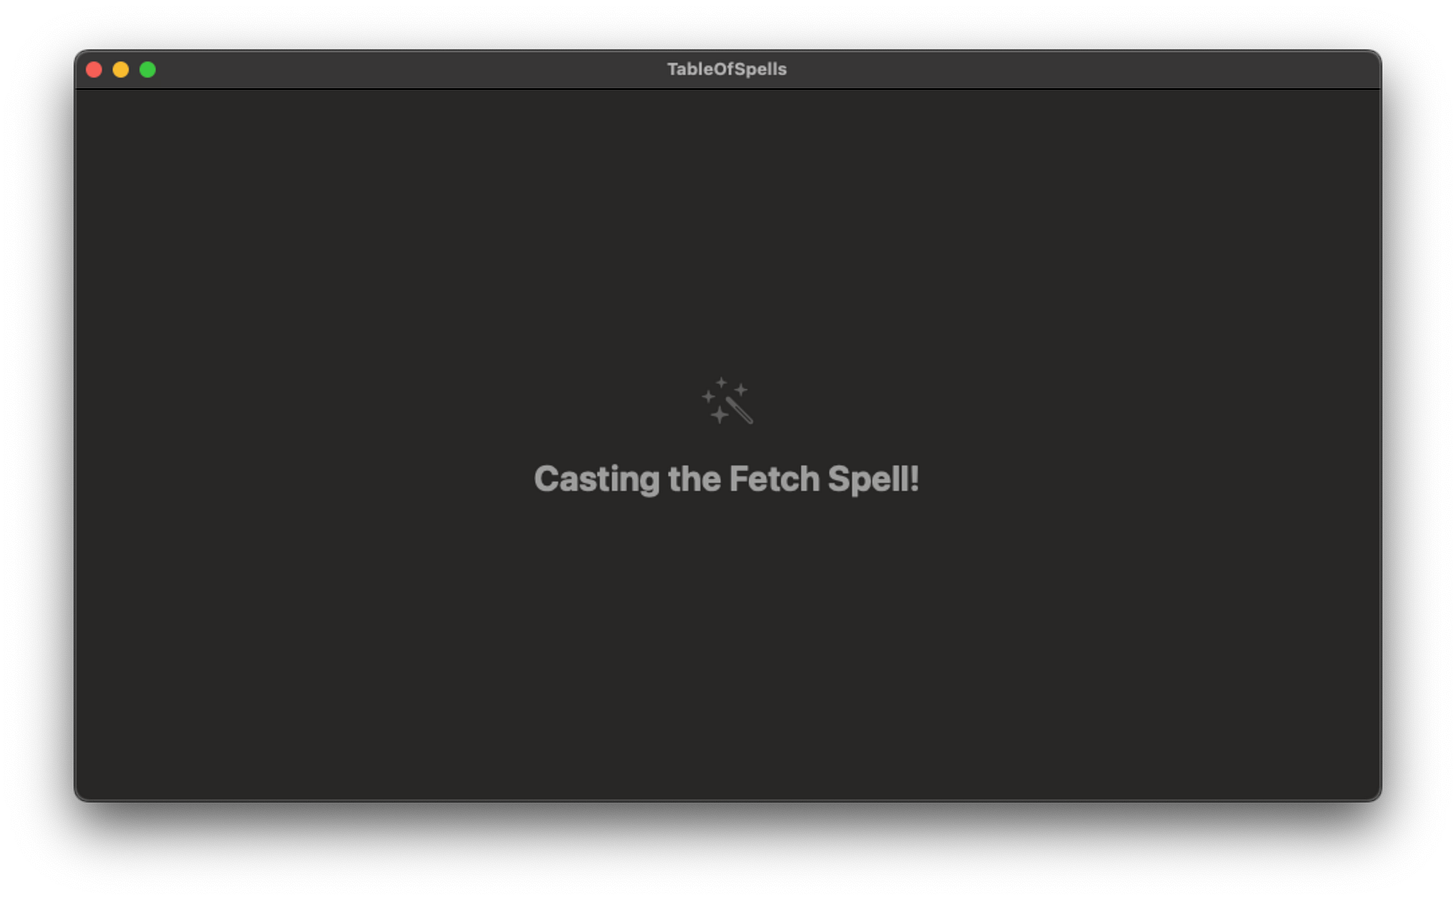
        ContentUnavailableView("Casting the Fetch Spell!",
                                       systemImage: "wand.and.stars")
    }
}
With our control flow in place (including an enchanted empty state), it’s time to add our Table for the loaded state. For now, we’ll set it up with a single column:
Table(spells) {
    TableColumn("Name", value: \.name)
}
.frame(maxWidth: .infinity, maxHeight: .infinity)
.padding()
Here, we declare our Table, set the data to our stateful spells property, and in the columns closure, we declare a single column for the name of our spells. In TableColumn, we provide a title for our column (“Name”), and then we connect the value of the column to a specific property on Spell using a KeyPath (“.name”).
Lastly, let’s create a task to fetch our spells. Add the task modifier to Group. Wrapped in a do/catch, we’ll call our static call and set spells to it.
.task {
    do {
        spells = try await WizardWorldAPICaller.fetchSpells()
    } catch {
        print("Error")
    }
}
Run our app, and as soon as our data loads, we should see our spells:
Customizing Columns
It’s exciting to see the names of our spells loaded in our Table, but it would be great to see all the other data about our spells. We could add many of them similarly to how we setup the name column (e.g. TableColumn("Effect", value: \.effect)).
However, we have a couple of data points that are Optional. And one of them could even be represented in a better aesthetic. Let’s start with “Incantation”.
TableColumn("Incantation"){ spell in
    if let incantation = spell.incantation{
        Text(incantation)
    } else {
        Text("-")
    }
}
Because incantation can be nil, we can declare it’s TableColumn by setting the title and then setting a contentclosure. The closure provides the a representation of the current Spell, and from there we are given the freedom to decide what should be shown. In this case, we do an if let on incantation. If it exists, we display it plainly. If it is nil, we show “-“.
We have a similar situation with another, property: canBeVerbal. We can implement it similarly to what we did with incantation:
TableColumn("Verbal"){ spell in
    if let verbal = spell.canBeVerbal {
        Text(verbal.description)
    } else {
        Text("-")
    }
}
Since this is a boolean value, though, it could be helpful to display this column differently. Instead of showing Text, we can show a green checkmark if true, and a red x if false:
Image(systemName: verbal ?
      "checkmark.circle.fill" :
        "x.circle.fill")
    .foregroundStyle(verbal ?
                     Color.green :
                        Color.red)
This gives what would otherwise be a trivial data point something easier for a user to pickup and distinguish by.
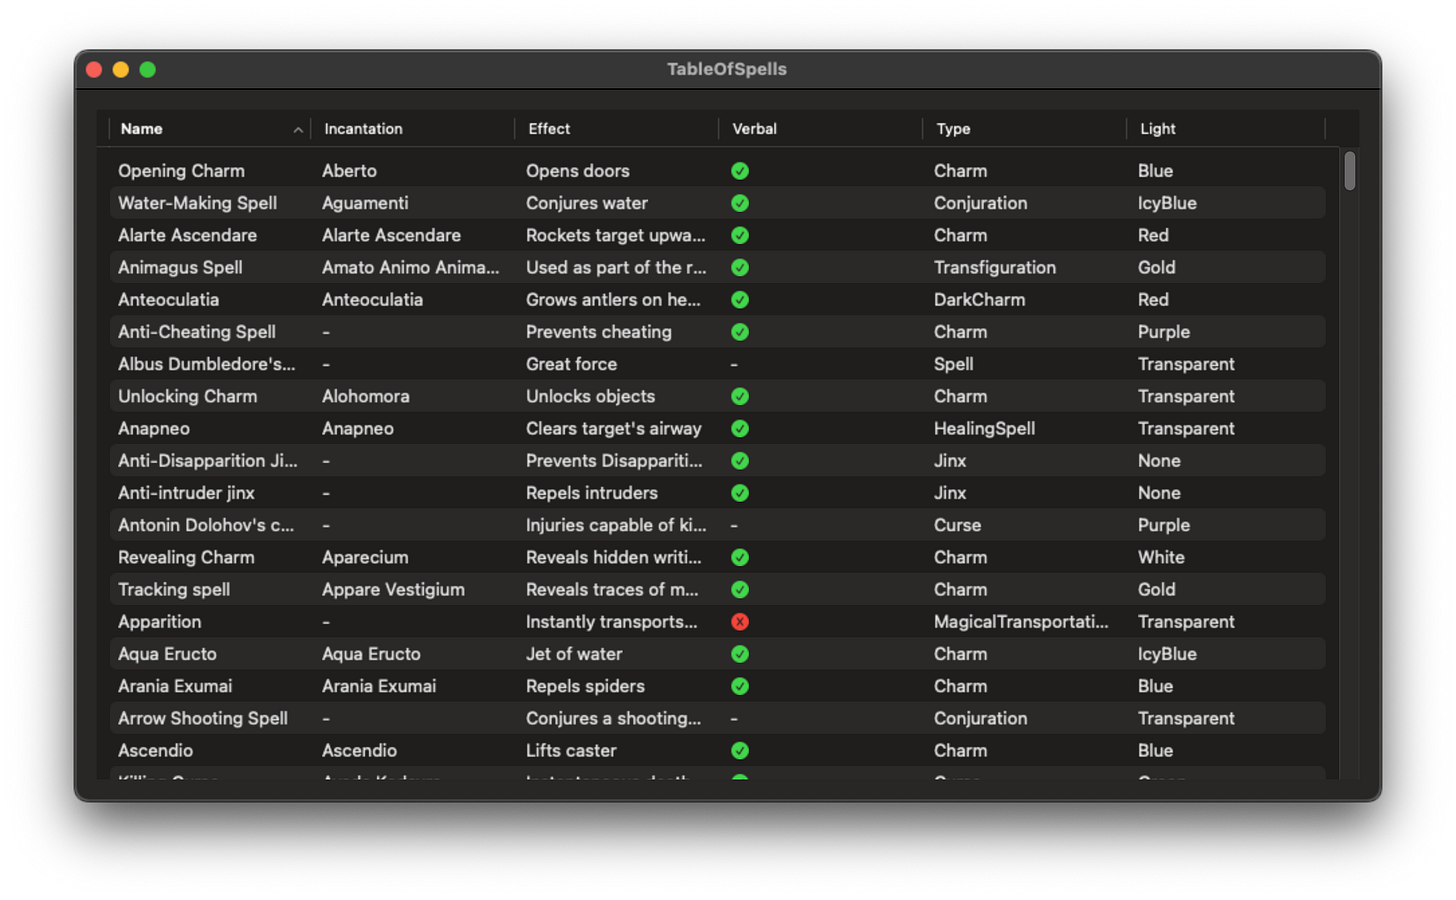
Let’s go ahead and add columns for all the data in Spell:
Table(spells) {
    TableColumn("Name", value: \.name)
    TableColumn("Incantation"){ spell in
        if let incantation = spell.incantation{
            Text(incantation)
        } else {
            Text("-")
        }
    }
    TableColumn("Effect", value: \.effect)
    TableColumn("Verbal"){ spell in
        if let verbal = spell.canBeVerbal {
            Image(systemName: verbal ?
                  "checkmark.circle.fill" :
                    "x.circle.fill")
                .foregroundStyle(verbal ?
                                 Color.green :
                                    Color.red)
        } else {
            Text("-")
        }
    }
    TableColumn("Type", value: \.type)
    TableColumn("Light", value: \.light)
}
.frame(maxWidth: .infinity, maxHeight: .infinity)
.padding()
Now when we run our app, we see all the spells and their data across our Table:
Coming Up in Part II
Now that we have our spells in a table, it would be great if we could provide added functionality. This way users (read: Wizards and Witches) can better study them.
In Part II, we’ll cover adding sorting, selection, and menus. We’ll also discuss the limitations with iOS and how we can handle them with alternatives.
You can find the code here!


